Introduction
Visual aids, such as images, have become an essential tool for creating, engaging and effective online courses. Transparent PNG images have become increasingly popular among various image file formats due to their support, high-resolution graphics, and the ability to remove the background or make it transparent.
In this lesson, we’ll be learning all about transparent PNG images for online course teachers so that you can have images with transparency. You can layer them and do all sorts of great things. We will also go over transparent PNG images for online course teachers so that you can use transparency in all your different assets.
Challenges online teachers can encounter if they don’t use PNG files:
- The image’s background may appear solid and rectangular
- Icons can’t contain holes through the graphics without transparent graphics
- Vector objects may not be supported well on all apps and browsers
- The graphics may have to be updated if you change the content or background
- May have to utilize animated pixelated formats like GIFs or newer WEBP formats
Video Lesson – How you can have transparency when using PNG images
What is a PNG File?
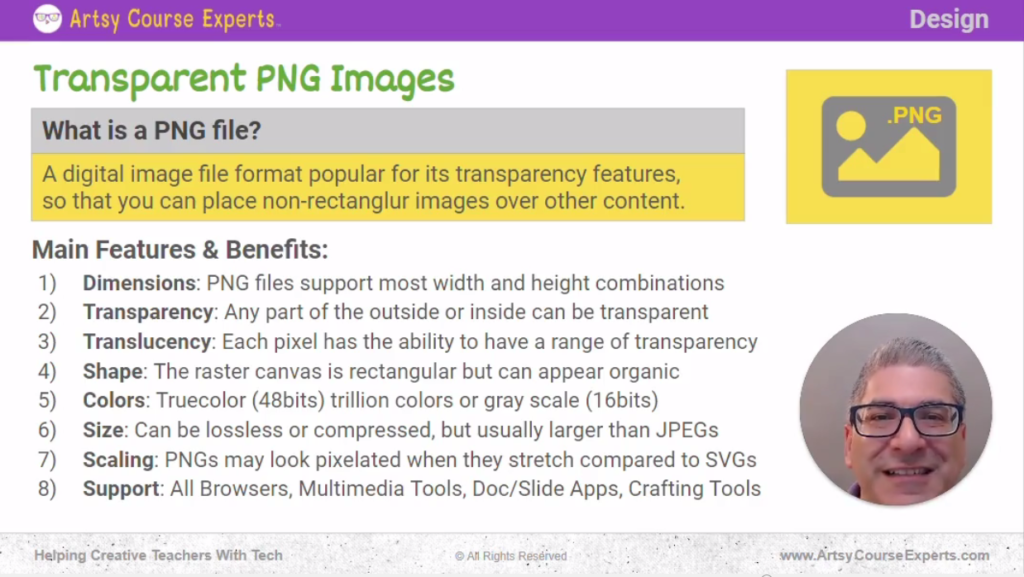
A PNG file is a digital image. It’s a very popular format, and it’s mostly popular because of its transparency feature. So you can place what looks like non-rectangular images over other content. It’s a great way to have all sorts of shapes, pictures, icons, etc., on your assets.
While PNGs could be used across websites, resources, and emails, here are some examples of using PNGs in your course content:
- A food designer using a PNG of rounded, layer cake examples on slides
- A sculpture teacher using a PNG showing irregularly shaped tools like chisels
- A beauty and makeup artist using PNGs to show different nail design effects
- A sci-fi writer using PNGs to show writing technique icons like character vs drama
- An audio editor using PNGs to show small musical instruments to identify tracks

Main Features and Benefits of Using PNG Files
Let’s go over some of the main features and benefits.
Dimensions
PNG files support almost every combination of width and height. You could even go down to one pixel by one pixel, and there could be thousands of pixels if needed.
Transparency
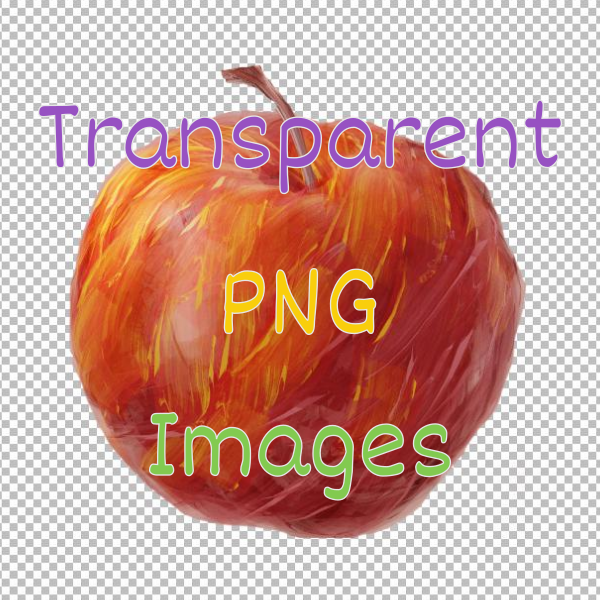
Transparency allows any part of a PNG image on the inside or the outside to be transparent. So you can create a donut-shaped icon with a hole that shows the background through the middle.
Translucency
Translucency is every pixel’s ability to have a range of transparency. You could be partially transparent, or 20% or 80%, whatever you need. So not only can it be fully transparent, but it could be partially transparent to see the top image and some of what’s under the PNG image.
Shape
It’s pretty cool when you want to merge and combine layers from a shape point of view; it’s like graph paper. They have a canvas. It could be any rectangular shape, but with transparency, the thing you’re making doesn’t have to look rectangular. The shape is rectangular. That’s the canvas that you draw on. You create your icons or your images there. But in the end, when the shape is rendered, it may or may not look rectangular.
Colors
From a colors point of view, PNGs support true color up to 48 bits for every pixel. So that means you have trillions of color options. And the same thing with grayscale; you have so many options as far as every shade of color that you want. The PNG can have a huge color range and can work on all sorts of different kinds of assets.
Size
PNGs can be lossless, which means you can turn off compression. The image that you drew is exactly what’s saved in the PNG file, but that could be a little larger than a heavily compressed JPEG. In addition, you can do some basic compression with a PNG, but it won’t be as good as the JPEGs.
So the sizes of PNGs are slightly large. They’re not ginormous, they’re just slightly larger than JPEGs, so you should be aware of that.
Scaling
The PNGs are like pixels on graph paper. So when you stretch them out, you may see some pixelation. If it’s 64 by 64 and you stretch it to 80 by 80, that shouldn’t be too bad. But when you start stretching beyond 2 times or shrinking, then at that point, the art assets will not be as recognizable. Letters and other things will start to blend or warp or get all pixelated.
If you need to take one asset and stretch it into different use cases, you may want to consider an SVG file format. Or when you create your PNGs from your source image, you create several PNGs. You can create a 100 by 100 image, a 500 by 500 image, and 1000 by 1000 image, and you can use those specific PNGs for the right use case. So you won’t see pixelation when shrinking or expanding.
Support
Finally, PNG is an open file format. So it’s supported almost everywhere across all browsers. All the media tools let you import and export PNGs in different docs. Slide apps like Google Docs, Microsoft Word, Keynote, and all the different applications support PNGs, and in fact, a lot of crafting tools also support PNGs because they’re great for design. You can use it on a cricket printer, a 3D printer, et cetera.
Now you know what a PNG is, in case you’ve been thinking about randomly using JPEG. Sometimes you may use the PNGs when you need transparency. Use the JPEGs when you need rich color, maybe it’s a giant picture or high resolution. Then use SVGs when you need vector graphics that might need to get stretched.
PNGs are great. They’re going to help you with a wide range of use cases.

Where can Online Teachers Use PNG Files?
Since PNGs support transparency to look round and can be intelligently used to layered graphics on top of eachother, they can be used in a wide range of places.
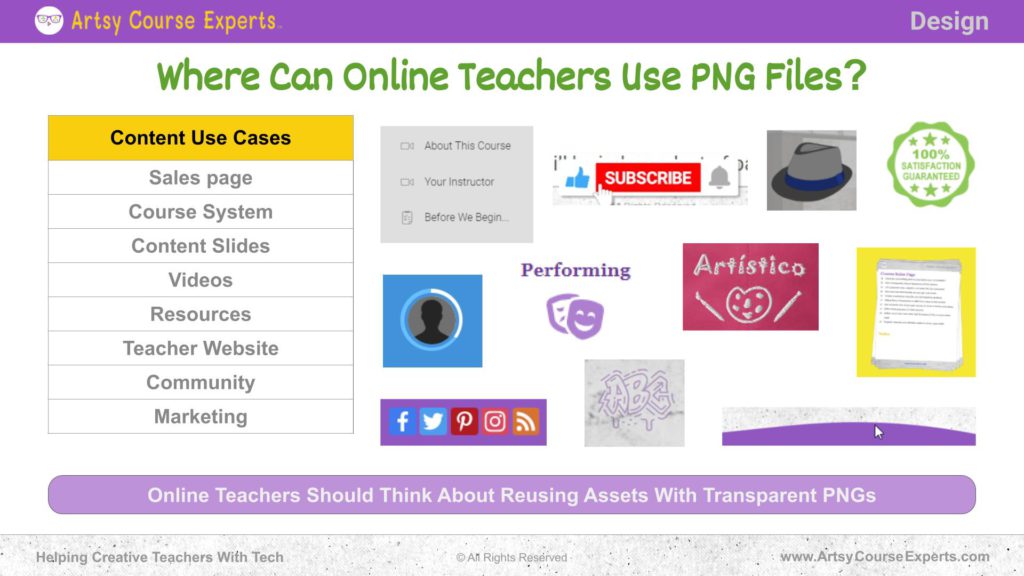
As a teacher, you might have PNG artwork on your sales pages on your course system. The skin and theme of your course or maybe even on your content slides, like the decks that you’re using. Maybe on your videos, resources, PDFs, or templates. They can all use PNG files even on your teacher’s website.
Your logos and other things like that could leverage PNGs, and even in your community layout, you might have little icons for each room, area, or picture. Then, of course, in marketing, and social media, you’ll use what appear like irregularly sized images.
In summary, you can use PNG files in these places:
- Sales page
- Course System
- Content Slides
- Videos
- Resources
- Teacher Website
- Community
- Marketing
Frequently Asked Questions about Transparent PNG Images

Summary – Transparent PNG Files
Using transparent PNG images in online courses can make the learning experience more engaging and effective. There are lots of benefits to using PNG images, such as high-quality graphics, design layout flexibility, and almost universal browser support. By following the tips provided in this lesson, online course creators can use PNG images effectively and ensure that their online courses are both visually appealing and accessible.
Now you know what a PNG is if you’ve heard of them but weren’t really sure about the details. Use PNGs when you need transparency. Use JPEGs when you need rich color or very high resolution that needs compression, and then use SVGs when you need vector graphics that might need to get stretched without ever looking bad.
Here are a few tips for using PNG files in your online course:
- Use PNG images when you need transparency
- Use PNG images when you want the most popular browser support
- If you don’t require transparency, go for a high compressing jpeg file
- Make sure to include an accurate image description in the alt text
- Make sure to use descriptive file names when naming your PNG files
- When you need many sizes of images without pixelation use multiple PNGs or one SVG vector file
- Teachers can use PNGs everywhere – course theme, community, website, resources, decks, templates, emails
Okay, now you’re a lot smarter on transparent PNGs and how to use them in your different areas, whether it’s your website or your courses, or your community, and there are a lot more resources in the notes.
There are more resources in the notes. Please subscribe to get more tips for creative online course teachers. If you need tech help with your courses, your community, or your teacher’s website, visit www.artsycourseexperts.com.
More Tips For Online Teachers
These lessons can also help you with Resources, Production, and Technology:
- Creating A PDF Resource Guide With Google
- Using Title Slides for Online Course Lessons
- Teaching Content Using A Picture-In-Picture Layout
- Creating an Ad for Your Online Course
- Use Care When Searching For Course Images
Related Services For Teachers and Experts
We offer these services to help your course business with Design, Marketing, and Technology:
- Teacher Website Tech Maintenance
- Course Technology Maintenance
- Set Up Teacher Website
- Set Up Online Course
- Enhance And Fix Your System


